Repairing my old xbox 360 controller
Repairing my old xbox 360 controller
About 10 years ago, I got a wired xbox 360 controller for christmas. Now, after many years the cord seems to have kicked the bucket with the controller frequently disconnecting. Luckily, ifixit has a handy guide: https://www.ifixit.com/Guide/Xbox+360+Controller+USB+Cord+Replacement/51578
So I set out to find a replacement cord. There are two things I found out:
- Replacement cords cost about 10€
- Broken xbox controllers are still kinda expensive
I decided on buying a new cable, since I wanted it to last for a while and broken controllers I found were more expensive than the 10€.
Before buying a new cable, I wanted to make sure that the cable would fit the controller. After opening up the controller, I noticed a difference between the connection that was present in my controller and the one I found online.
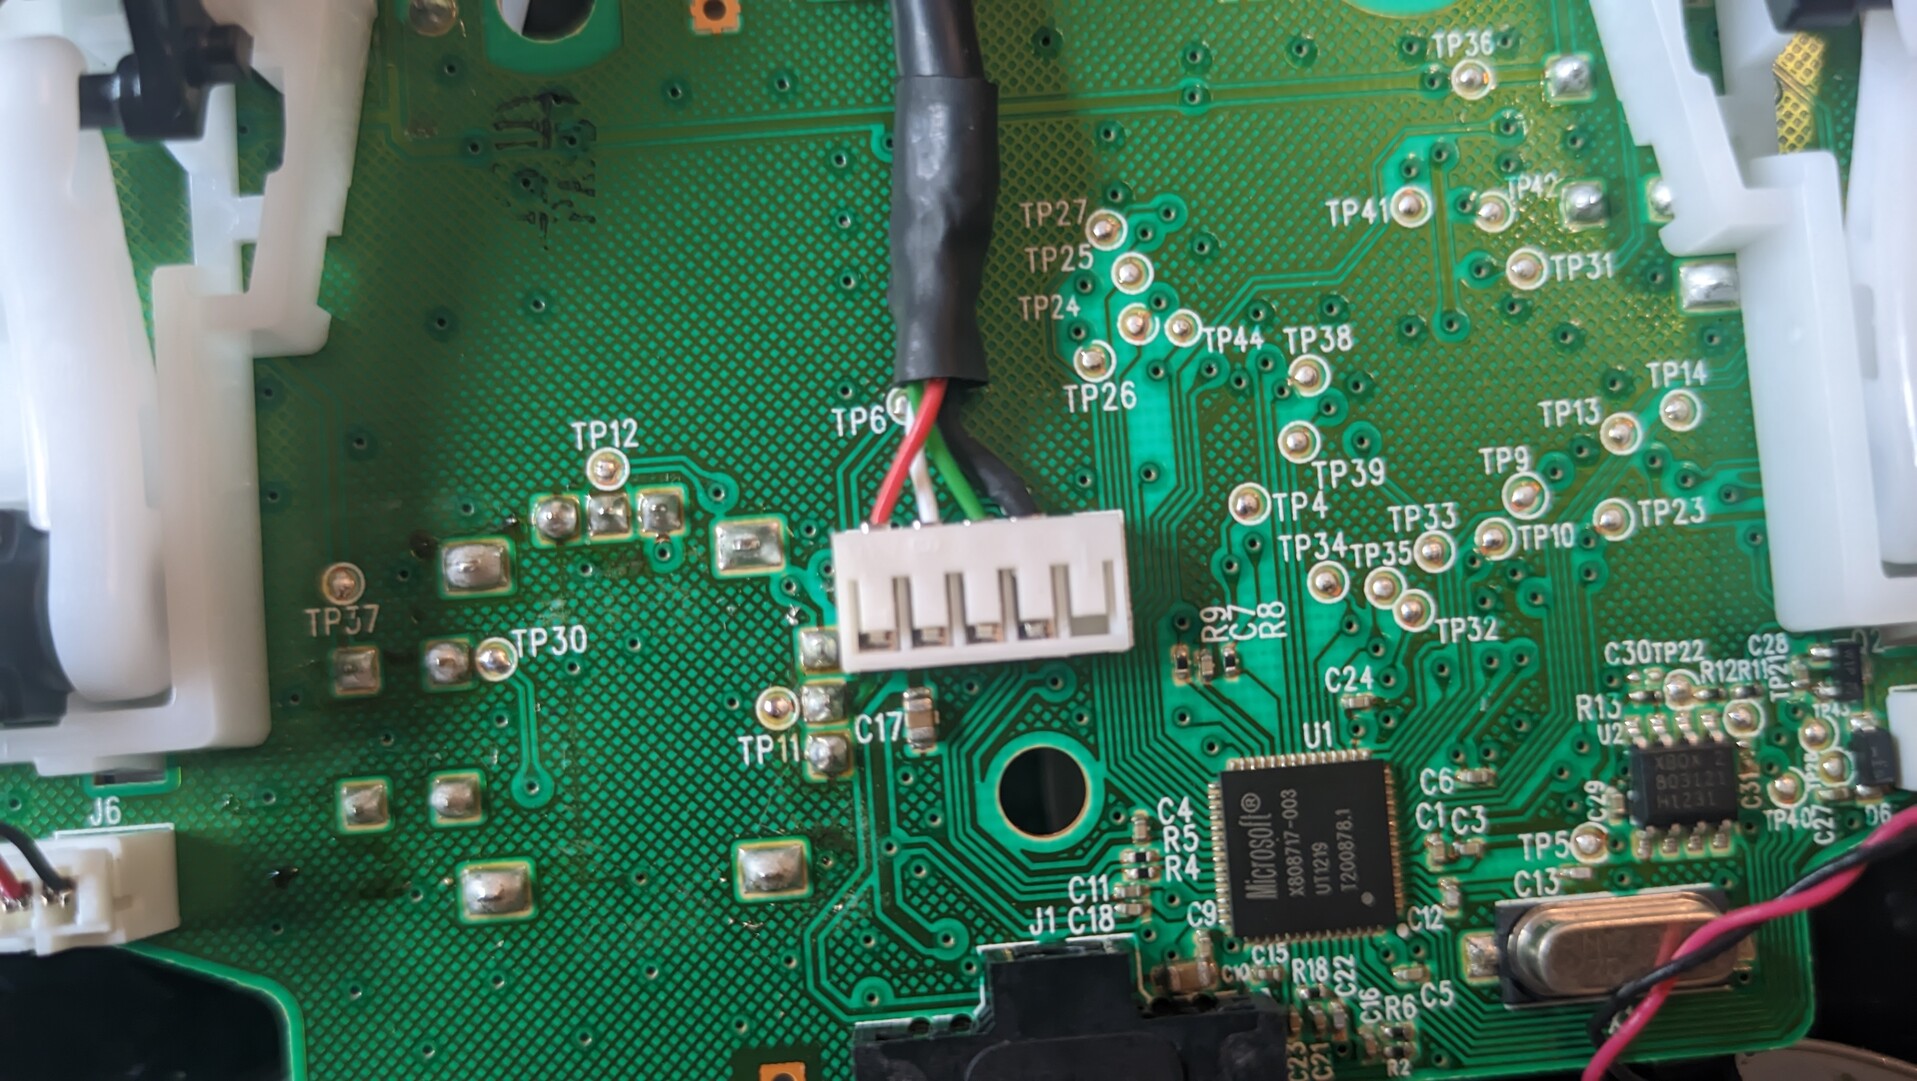
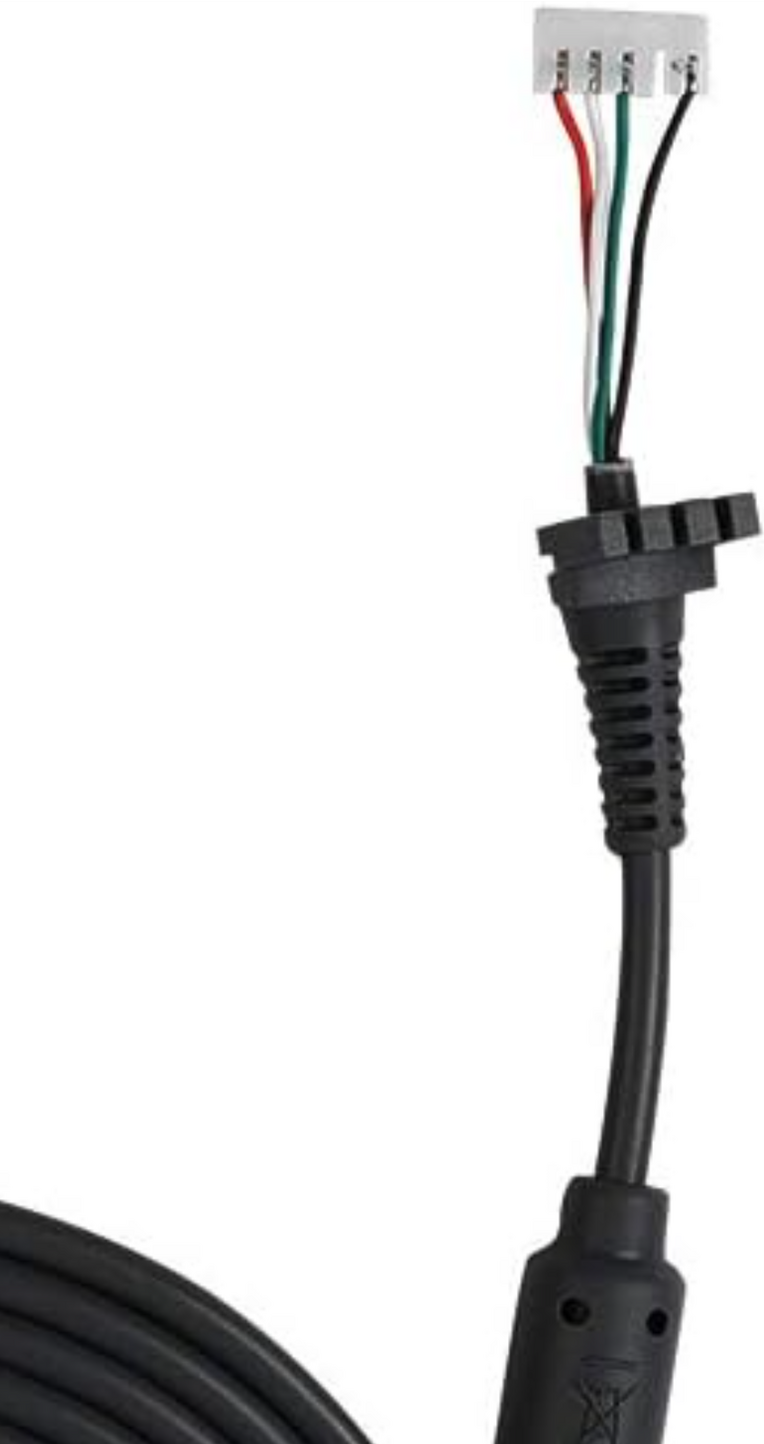
Both these cables have five possible connections. While my controller has the first four slot populated and the last one empty, the image of the replacement shows the first three slots and the last slot populated. However, I figured that I could swap this manually if I needed to.
After waiting for the cable to arrive, a surprise waited for me. The cable I was sent simply has four pins, in the same order as present on the controller. I don’t know why, but I’m not complaining.

Since this was my first time desoldering pins, I decided to also get a desoldering pump and a wick, so I could try both and see what fits me best. After waiting for the desoldering pump and wick to arrive, my choice on which to use was pretty easy. The pump arrived snapped in half. Oh well.
Desoldering the four pins with a wick turned out to be pretty hard (at least for me). It took a long time (and some force) to get all the pins out of the pcb. In turn, soldering the new headers on was a breeze. I also swapped the two joysticks, since the left one as a lot more worn out and I think that playing on it will feel better this way.
Now the only thing left was screwing everything back together and testing it out. This steps was accompanied with worries, since I may have left some burn marks on the pcb. However, the repair was successful! I am now able to use it again without disconnecting the controller every 10 seconds. And no new stuff for the landfill!