Planning a Halloween Party with some gimmicks
Planning a Halloween Party with some gimmicks
So, Halloween is almost around the corner, so it is time to invite some friends and enjoy a nice evening together. Halloween is a great excuse to start (and hopefully finish) some new projects. This may be no surprise after looking at other posts on this blog, but the party is going to be Harry Potter themed.
We put together some nice themed invitations, which will not be shown here because of copyright laws ;)
In order to fit the theme, some projects are necessary. After brainstorming, my gf and I put together a ‘small’ list. Below, all final projects are listed
- Finish my IR Wand tracking project
- RGB lamp in the hallway for spooky light
- Greenscreen photo wall
- Mad Eye Moody Eye
- Sorting ceremony
- Small speakers with motion sensor
- Falling spider
- Weasleys’ Dragon Roasted Nuts machine
- Carved pumpkin
IR Wand tracking
A few months ago I started a project to recreate the Magic Wands seen in a Harry Potter theme Park. I already tried various approaches and finished a first version for the event. Read more
RGB lamp in the hallway
Since we have many smart bulbs, I simply replaced the hallway lamp with one of my existing ones. The motion sensor in the hallway will then trigger a spooky color. Pretty easy, but pretty nice.
Greenscreen photo wall
Of course, we need a nice photo opportunity. Since we do not have enough props to decorate an entire wall, we simply ordered a greenscreen. I want to use my camera to take the photo, since its quality is quite decent. The background of the images should automatically removed and replaced with another background image.
I already use gphoto2 in order to utilize my camera as a webcam, so that should not be to hard, right?!
Actually, kinda right. The command should be pretty simple by itself:
gphoto2 --capture-image-and-download
I try the command, and it works. Great! Now for a retry…. well, what did I expect?
To be fair, I did not expect Error (-110: 'I/O in progress')
After a bit of searching, I found an issue on Github, describing exactly my problem. Some proposed fixes seem to work for a few tries, but end with the same error.
gphoto2 --set-config viewfinder=1 --capture-image-and-download --no-keep --filename IMG_%Y-%m-%d_%H-%M-%S.%C is currently the ‘winner’ which seems to work for me.
Now that the easy part is solved, lets go to the next one. Removing the background. I know that there are many apps for Android which can do this (which questionable privacy policies), so there must be an open source alternative. I tried searching, and got results for video editing, because who wants to simply edit a photo.
I tried gimp, but my greenscreen setup is not clean enough and my gimp knowledge is too bad in order to automate the process.
Now, where else could I look for open source programs? WHY DID I FORGET ABOUT GITHUB?
A minute later, I found [this](GitHub - nadermx/backgroundremover: Background Remover lets you Remove Background from images and video with a simple command line interface that is free and open source. lovely project, which is very awesome. Turns out, the greenscreen may be overkill, because after a few tests, the results are great. With and without greenscreen. Wow.
Now there is only one step missing, combining the images. This was by far the quicket step to tackle, even though I had some problems with image scaling, but this can be accredited to a lack of caffeine. Thanks brain.
After putting everything together in a short shell script (and creating a clickable desktop icon for it), this part is done!
The script below requires gphoto2, backgroundremover and ImageMagick and dolphin (which can be replaced by another file manager)
echo "Name eingeben: "
read name
echo "Wartezeit vor Foto eingeben (in Sekunden)"
read waittime


if [ ! -d ./resized ]; then
  mkdir -p ./resized;
fi
if [ ! -d ./foreground ]; then
  mkdir -p ./foreground;
fi
if [ ! -d ./background ]; then
  mkdir -p ./background;
fi
if [ ! -d ./done ]; then
  mkdir -p ./done;
fi
if [ ! -d ./done/$name ]; then
  mkdir -p ./done/$name;
fi
echo "Positioniere dich fürs Foto!"
sleep $waittime
echo "BITTE LÄCHELN!"
gphoto2 --set-config viewfinder=1 --capture-image-and-download --no-keep --filename IMG_%Y-%m-%d_%H-%M-%S.%C
echo "Bitte warten!"
for f in ./*.jpg; do
# do some stuff here with "$f"
    # remember to quote it or spaces may misbehave
    base_name=$(basename $f)
    IFS='.' read -ra base <<< "$base_name"
    echo "Entferne Hintergrund..."
    backgroundremover -i "$f" -a -ae 15 -o ./foreground/${base[0]}.png
    echo "Skaliere Bild..."
    magick ./foreground/${base[0]}.png -resize 1280 ./resized/${base[0]}.png
    for b in ./background/*.*; do
      echo "Kombiniere mit " $b "..."
      sh overlay.sh $b ./resized/${base[0]}.png ./done/$name/$(basename $b)_${base[0]}.png
    done
    mv $f ./.old/$base_name
done

dolphin ./done/$name
exit
Mad Eye Moody Eye
Mad Eye’s Mad Eye is legendary. And as a part of a door, like on Umbridge’s Office door it is pretty scary.
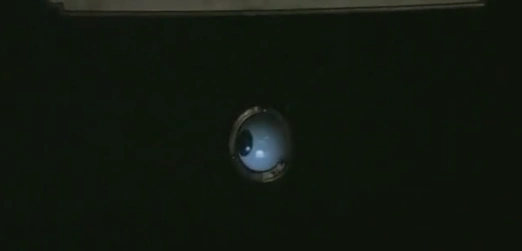
I’ve got a few ESP32 lying around in wait, so this looks like a use case for one of them. I bought a TFT screen and started tinkering. After successfully running a test program, it was time to find a way to display gifs on this thing.
Since I used TFT_eSPI for my first test, I can use the pushImage() function to send a new image every few milliseconds.
In order to save time (there is a lot to do) I search for a finished solution. Of course, those do exist and make it pretty easy to convert the frames from a gif to a bunch of hexadecimal.
The gif i chose was uploaded by Joel_X to Tenor.
Now we just need something to embed all this stuff in.
I cut up a old (fake) leather jacket from my girlfriend. It was very hard to glue in a 18650 battery with shield, the esp32 and the screen. However, in the end everything worked, as long as you don’t touch it too much. I could have gone for more stable connections, but I want to easily reuse parts in the future.
Sorting Ceremony
There is no way we can do a Harry Potter themed party without a sorting ceremony. The good thing: We already got a sorting hat, which we (by which I mean mostly my girlfriend) made a few years ago for a similar occasion.
TODO: INSERT IMAGE
We simply glued a Bluetooth speaker connected to my phone into the hat. For the app, I just took a clip from the song of the hat and four clips where the name of a house is shouted. The song can be played via the click of a button. A second button randomly chooses a house. Easy, but efficient.
I won’t be sharing the app here, because I do not want to use those clips without permission.
Small speaker with motion sensor
My girlfriend planned a treasure hunt for the entire group, which was great fun. If she writes a post for it, I will link it here.
At the end of the treasure hunt, the group finds a box with Harrys Birthday cake inside (IT WAS VERY DELICIOUS).
TODO: IMAGE
When the box is opened the voice of Hagrid (RIP Robbie Coltrane) talks to the group. It is the scene from the first movie, when Hagrid hands Harry his cake.
This is handled with an HC-SR04, an ESP32, a mp3 module and a relais. The code can be found here.
The idea is pretty simple: Measure the current distance. Measure again. If the distance varies by more than 15cm, the box has been opened, so we can power the mp3 module, which automatically starts playing a soundfile.
The code is not perfect, since it allows for missfires upon state change. However, the box is placed in advance so the box has time to ‘settle’. Also, I can turn the contraption off after the cake has been found, so it won’t be fixed for now.
Falling spider
Uppon entering the room where the greenscreen is located, a big spider falls upon the person entering the room. For once, there is no electronics here. A hook is glued on the ceiling and a wall. When the door opens one end of a thread that is glued to the door is moved further towards the hook on the wall. The spider falls down and scares the poor person.
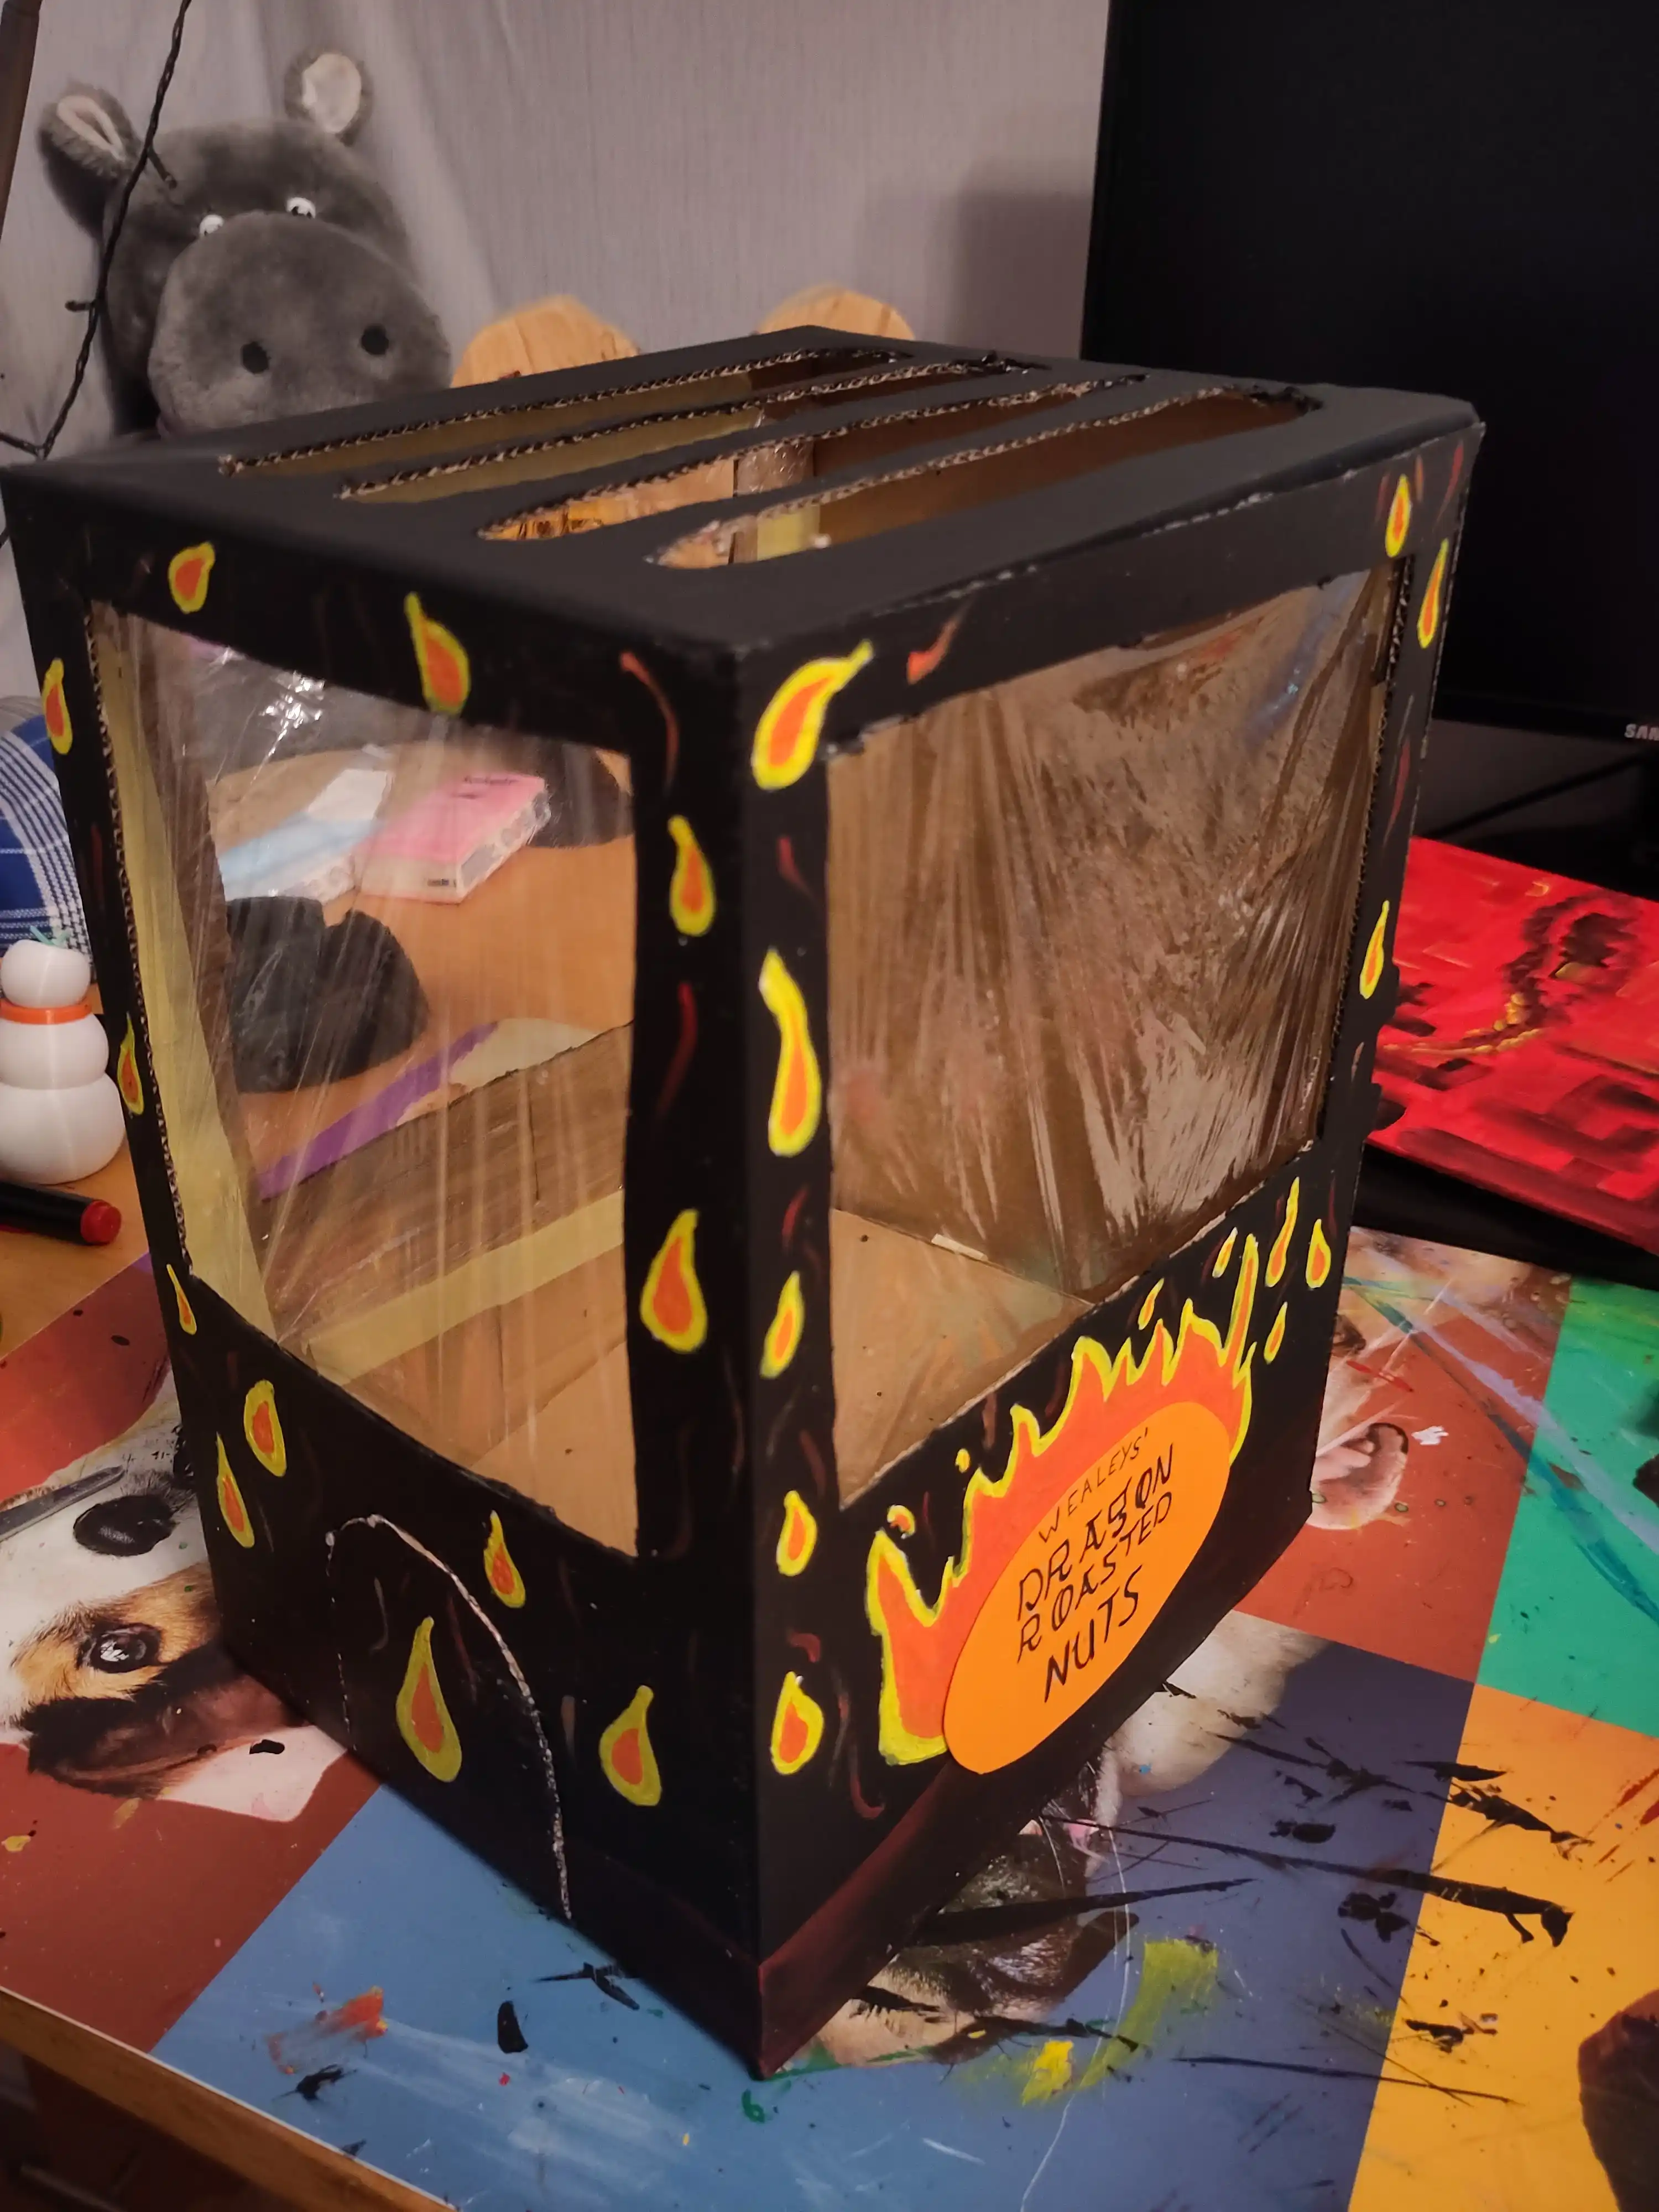
Weasleys’ Dragon Roasted Nuts machine
Another one without technology. However, it is one of the most impressing parts for me.
It is a painted cardboard box with nuts inside. However, it looks so god damn cool.
I mean, have a look at it, how do you even go about painting that? This is one of the things that I don’t think I will learn.
Carved Pumpkin
What is Halloween without a pumpkin? We bought some pumpkins from a local farm. One just for a soup and one part for soup, part for carving. So far, I always just cut out a face and called it a day. This time, my girlfriend stenciled a Harry face onto the pumpkin and we simply removed part of the shell. This way, there are simply bright areas instead of holes, which looks much better. Of course, compared to some other pumpkins this seems easy, however I’m still proud of us for the result.